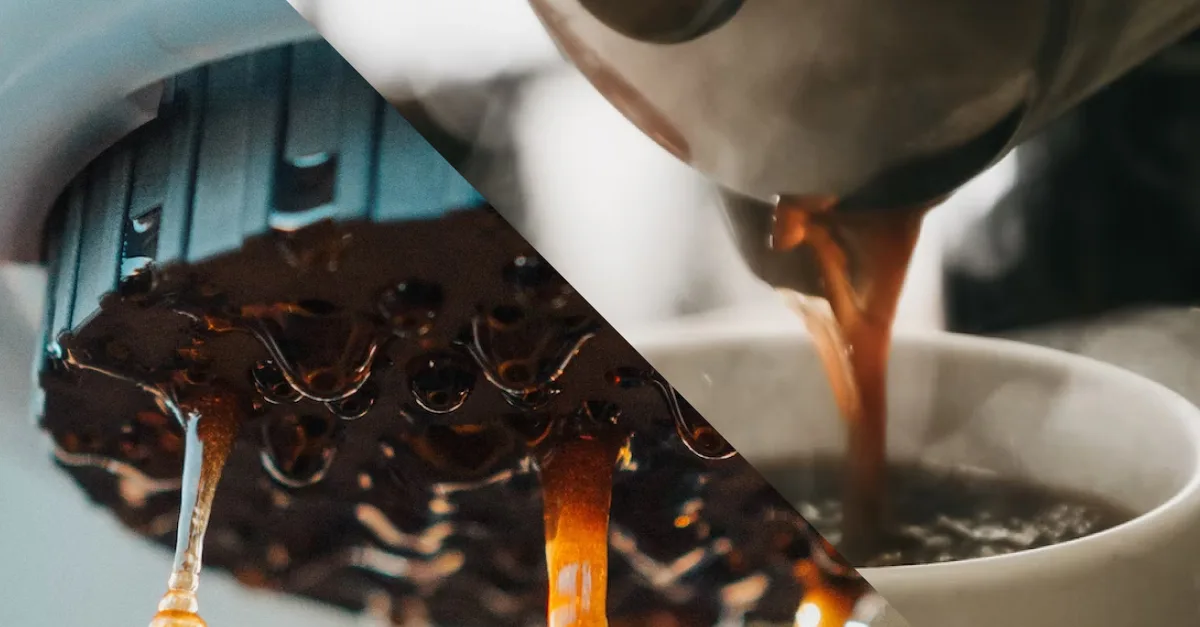
Simple is always best when it comes to our daily coffee routine. Since I have been using my Aeropress every day for the last three years, I have thoroughly enjoyed the taste of the coffee it makes. So, it’s always a pleasure to see creative ways of brewing coffee.
Today I tried this recipe I found on YouTube to my pleasant surprise. I actually found the process to be a bit easier by letting the press sit on the cup and pouring in the hot water. This delicious brew can be made in the steps below and the brew time only takes 3 minutes from start to finish, great if you’re in a rush.
The James Hoffman Aeropress Recipe Video
Top tips from the video
- For lighter roasts, get the water nice and boiling hot
- For darker roasts, drop the temperature down to between 85°C (185°F) and 90°C (195°F)
- No matter what type of kettle you use, make sure you fill it with hot water and soak the grind for a couple minutes.
- It’s best to press gently, and evenly, without pressing too hard.
- It should take about 30 seconds to press, totaling about 3 minutes from start to finish.
Flavor not quite right? Try these tips to experiment with in order to get the right flavor. It can either be the size of your grinds or the temperature of your coffee. Here are a couple tips you can play around with:
- If the coffee flavor is bitter: Your grind might be too fine, try a more coarse setting. The water could also be too hot for the type of beans that you’re using.
- If the coffee flavor is sour: Get your water boiling hot and try grinding your beans a bit finer.
James Hoffman method vs regular Aeropress
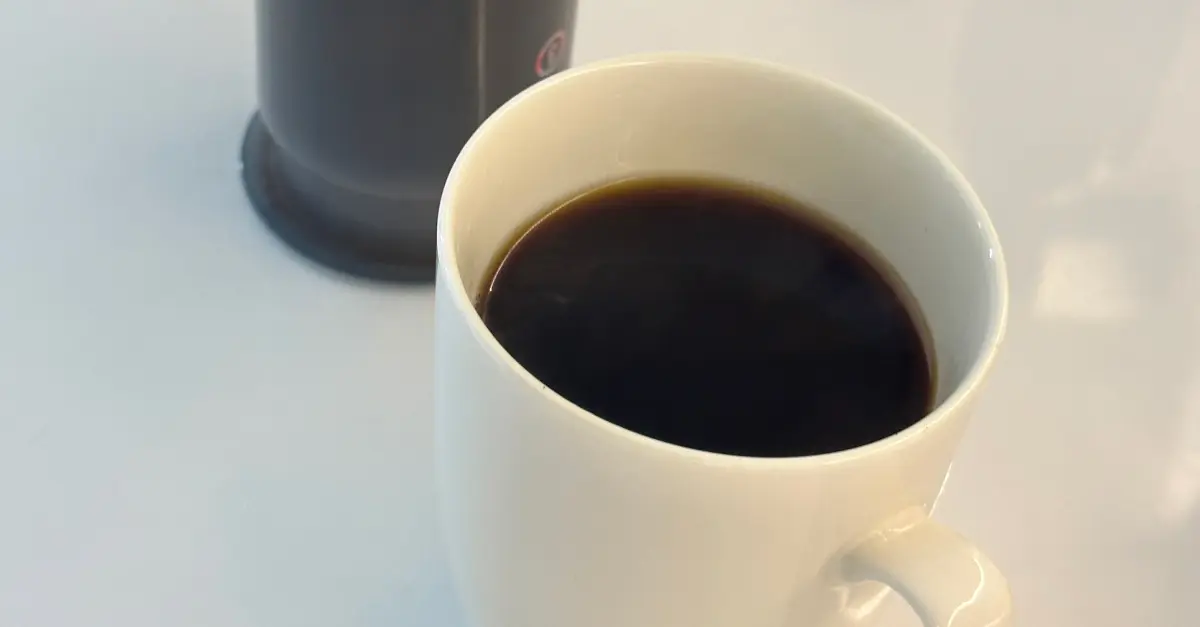
This is a very clean-tasting, fantastic cup of coffee without being too strong. The preparation feels easier than re-pouring hot water in and then flipping the Aeropress onto the cup (not to mention the risk if the plunger/piston comes off - trust us, we know!).
One word of advice I found with this method was after pouring in the hot water, the steam pressure would cause the plunger have more resistance. You’ll have to apply a bit of pressure to get it down to the 1cm mark as mentioned in the steps above.
As soon as the timer is ready (after your 2 minutes and then another 30s), you can quickly press the coffee through the grind to ensure it doesn’t get too bitter or sour. I feel it’s safe to say we’ll be trying this method for a while and hope you enjoy it too.
Featured Products
AeroPress Go Portable Travel Coffee Press Kit
⭐ 4.8/5 • 💰 ~$40
AeroPress Go travel coffee maker brews smooth, delicious coffee without bitterness or grit.
Key Features:
- Brews 8oz (237ml) of regular coffee per pressing in about a minute
- Can make espresso style shots and cold brew in two minutes
- Materials used are free of BPA and phthalates
Pros:
- 1-3 servings of espresso style coffee in a minute
- Handy mug and lid
- Total control over brew time
- Easy to use
- Light-weight
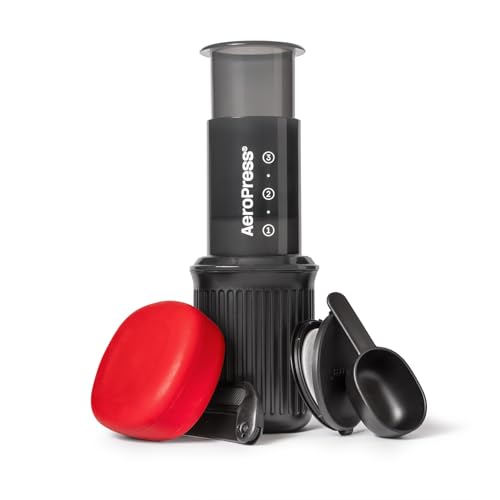
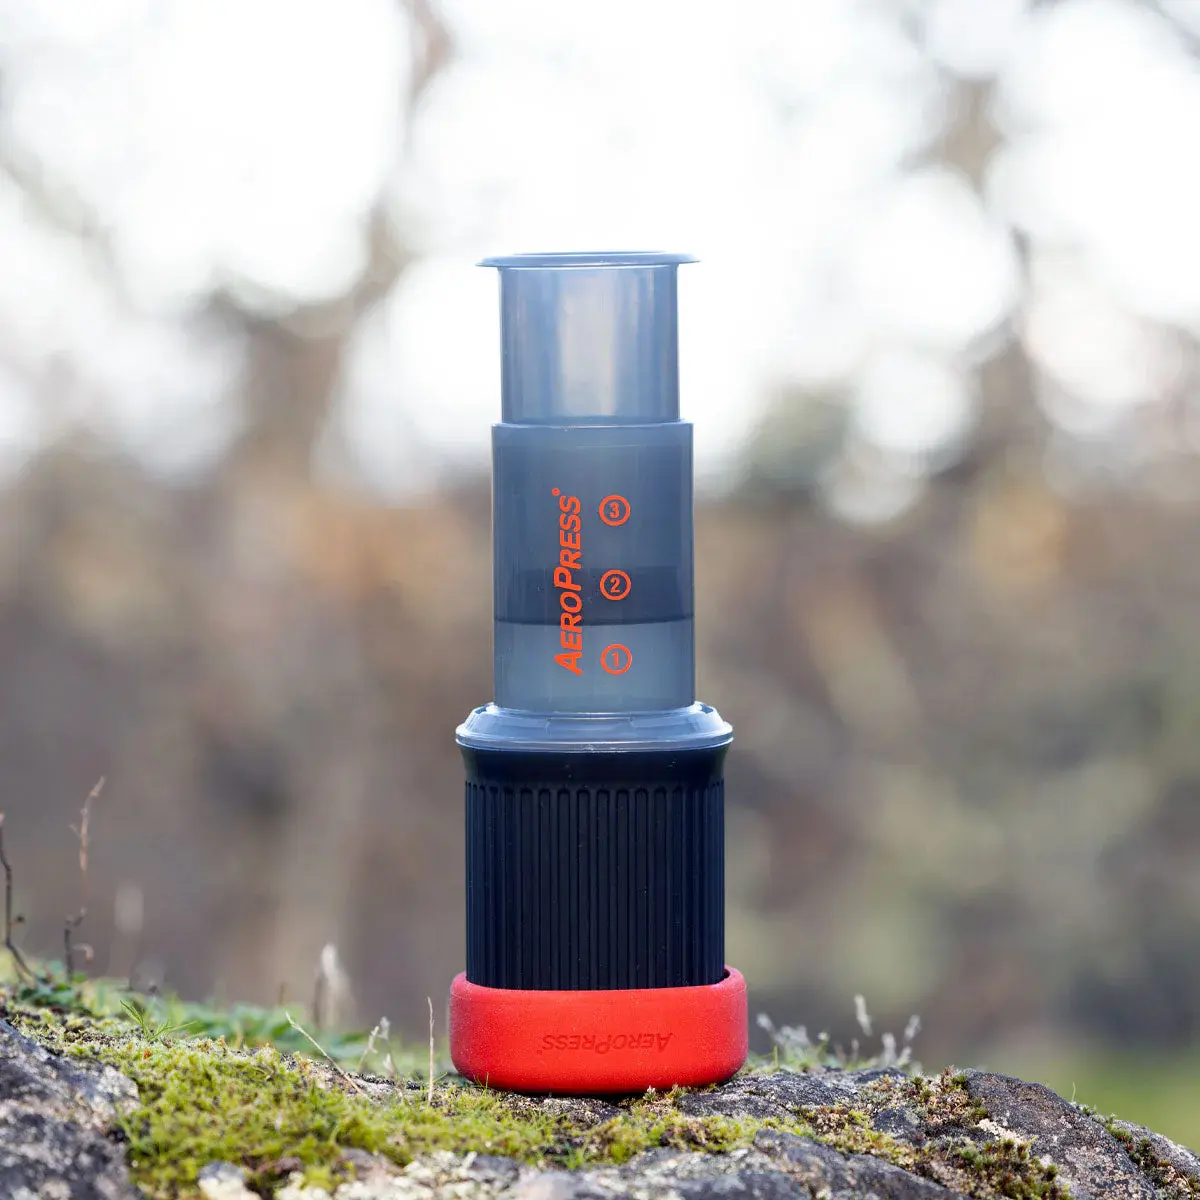
Aeropress Original Coffee Press
⭐ 4.8/5 • 💰 ~$40
Aeropress Original Coffee Press - full-bodied coffee without grit or bitterness
The AeroPress coffee maker is the most portable option on our list. It can make quality and concentrated brew in just a matter of minutes.
The major downside to this coffee maker is its size. However, that’s what makes it portable and great for traveling with. The AeroPress is designed as a single-cup brewing maker, which is great for brewing two small cups of coffee (diluted with milk or water) or one rich cup of coffee.
The coffee made by AeroPress is dense and full-bodied, and like the French press, it takes very little time (2-3 minutes). While cleaning this coffee maker might be an issue, it’s compensated by the minimal effort required in brewing.
Overall, it’s a great option if you want something portable.
Key Features:
- Made in the USA
- BPA and phthalate-free
- Makes 10oz (295ml) of regular coffee or 1 to 3 espresso style shots per pressing in about a minute
- Can make cold brew in just two minutes
Pros:
- Professional-grade coffee right at home
- Goodbye, French press - no more bitterness or grit
- Lightweight, compact, and portable
- Fast and easy to use
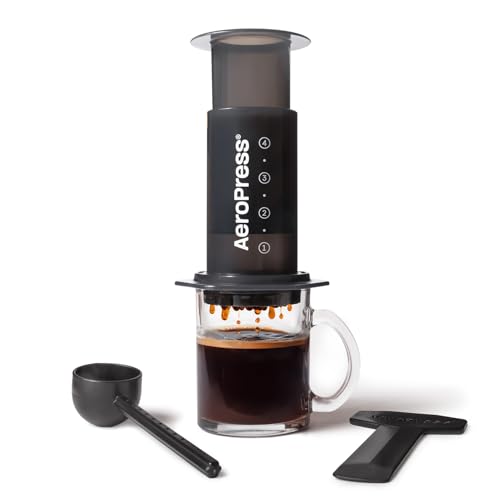
How To: Brew Your Aeropress (James Hoffman Method)
Total Time: 4 Minutes
Step 1. Grind 11g of your coffee
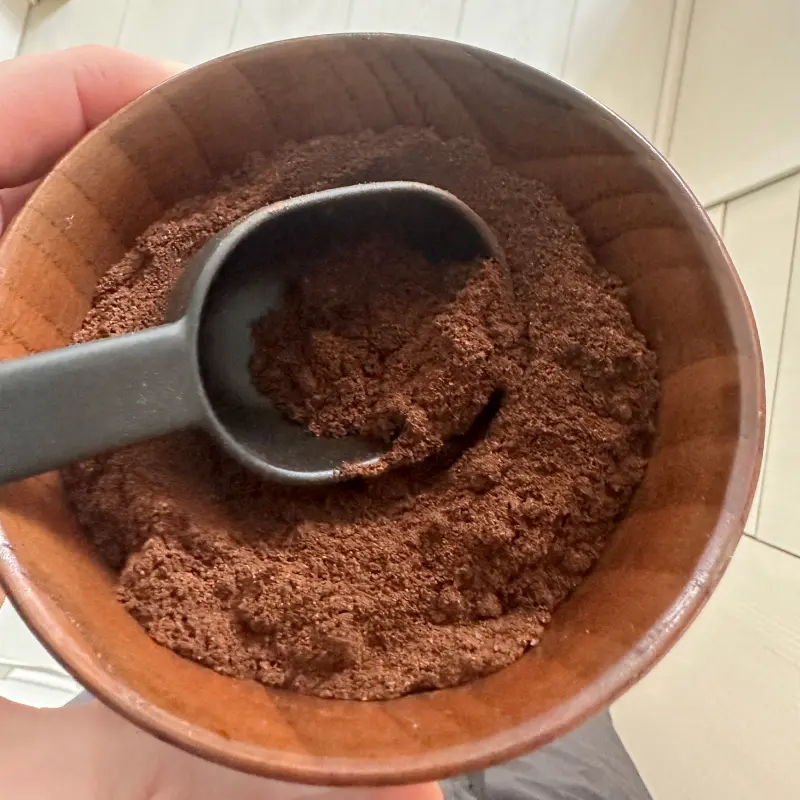
Grind 11g of coffee a little finer than medium (if light roast), go a bit more course for dark grind.
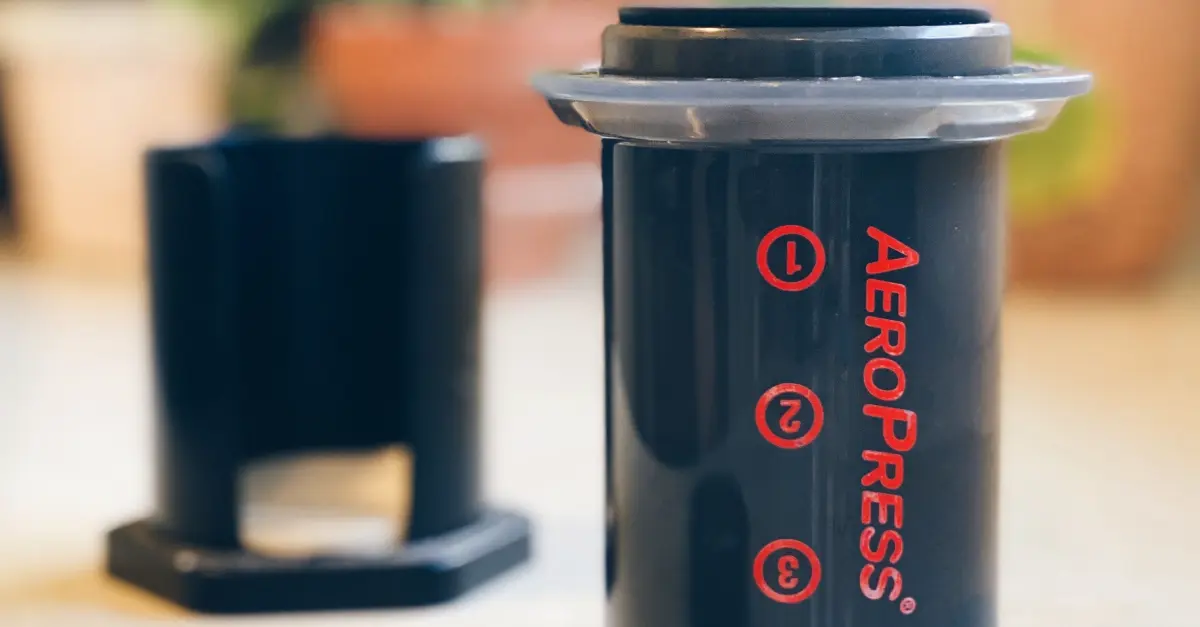
Step 2. Add a filter and attach the cap

Put a filter into the cap and attach the cap to the body of the Aeropress.
If you’re using a paper filter: We suggest place the paper filter into the cap and add a couple drops of water so that the filter is seated properly in the cap with no creases. If the paper is creased in the middle, stretch it out with your fingers.
Step 3. Place Aeropress on your mug and add your coffee
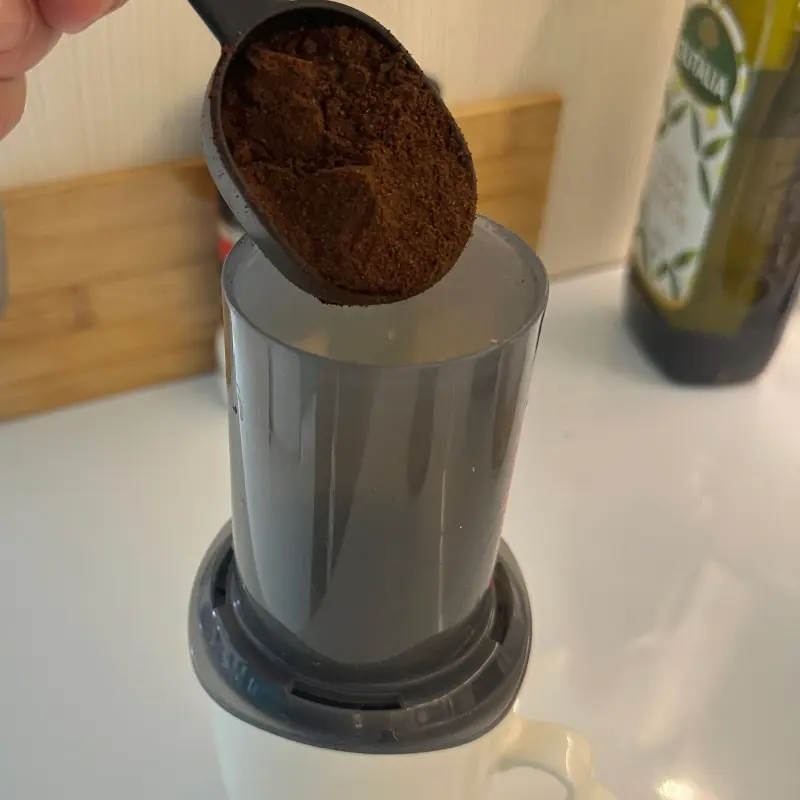
Set the Aeropress on top of your mug and pour in your fresh coffee grind (without the plunger).
Step 4. Pour in boiling water
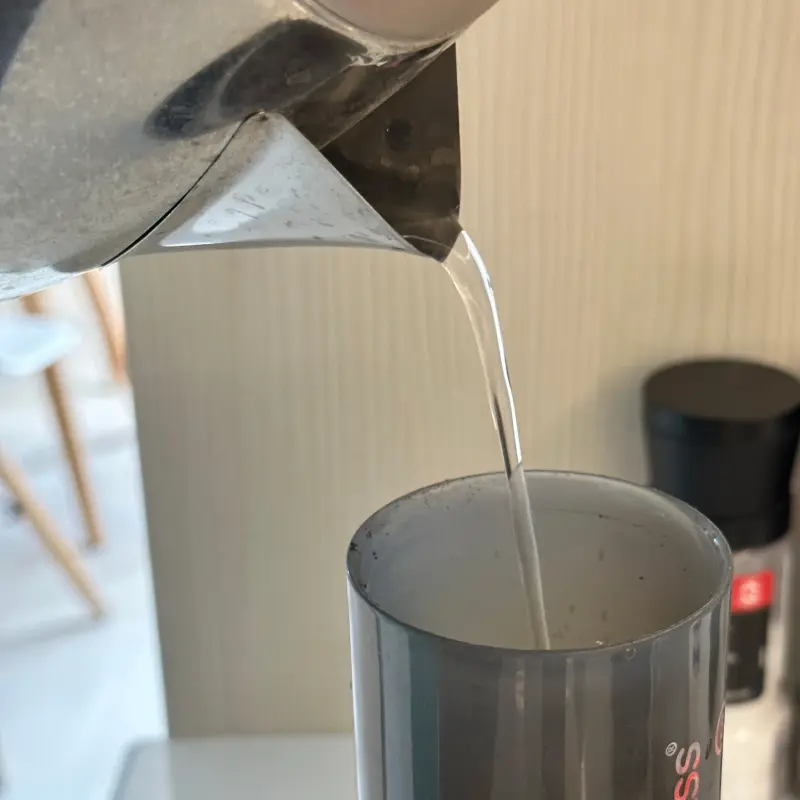
Place on the scale (optional), bring water to a boil and pour in 200g, covering the grind evenly.
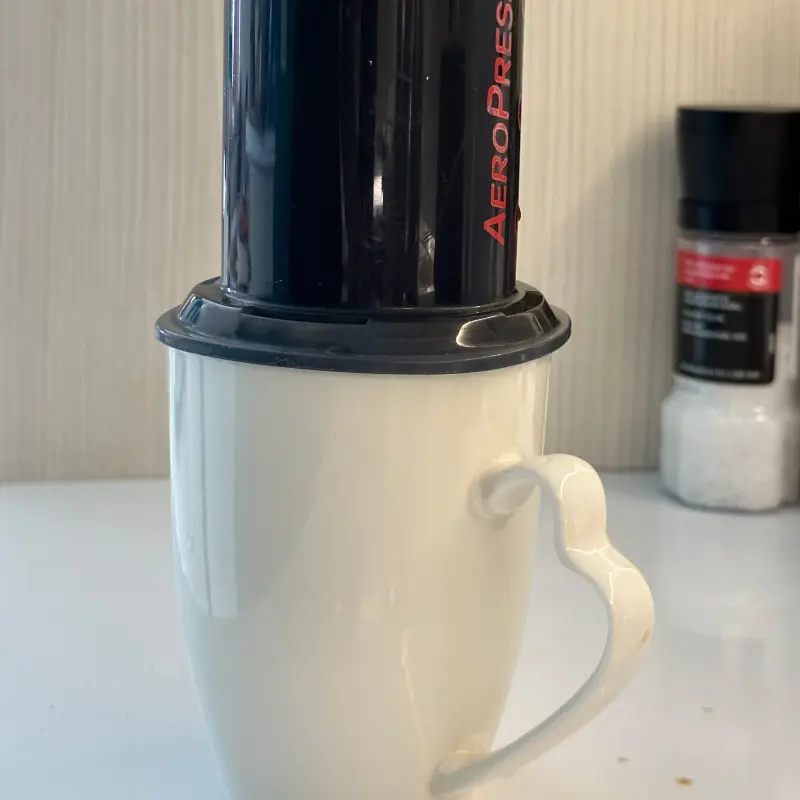
Step 5. Add plunger and wait 2 minutes

Duration: 2 Minutes
Put the plunger into the Aeropress (about 1cm) and start a timer for 2 minutes.
Step 6. Swirl the brewer and wait 30 more seconds
Duration: 30 Seconds
Gently hold the plunger with the cup then swirl the brewer for a few seconds to loosen any stuck grinds and wait for 30 more seconds.
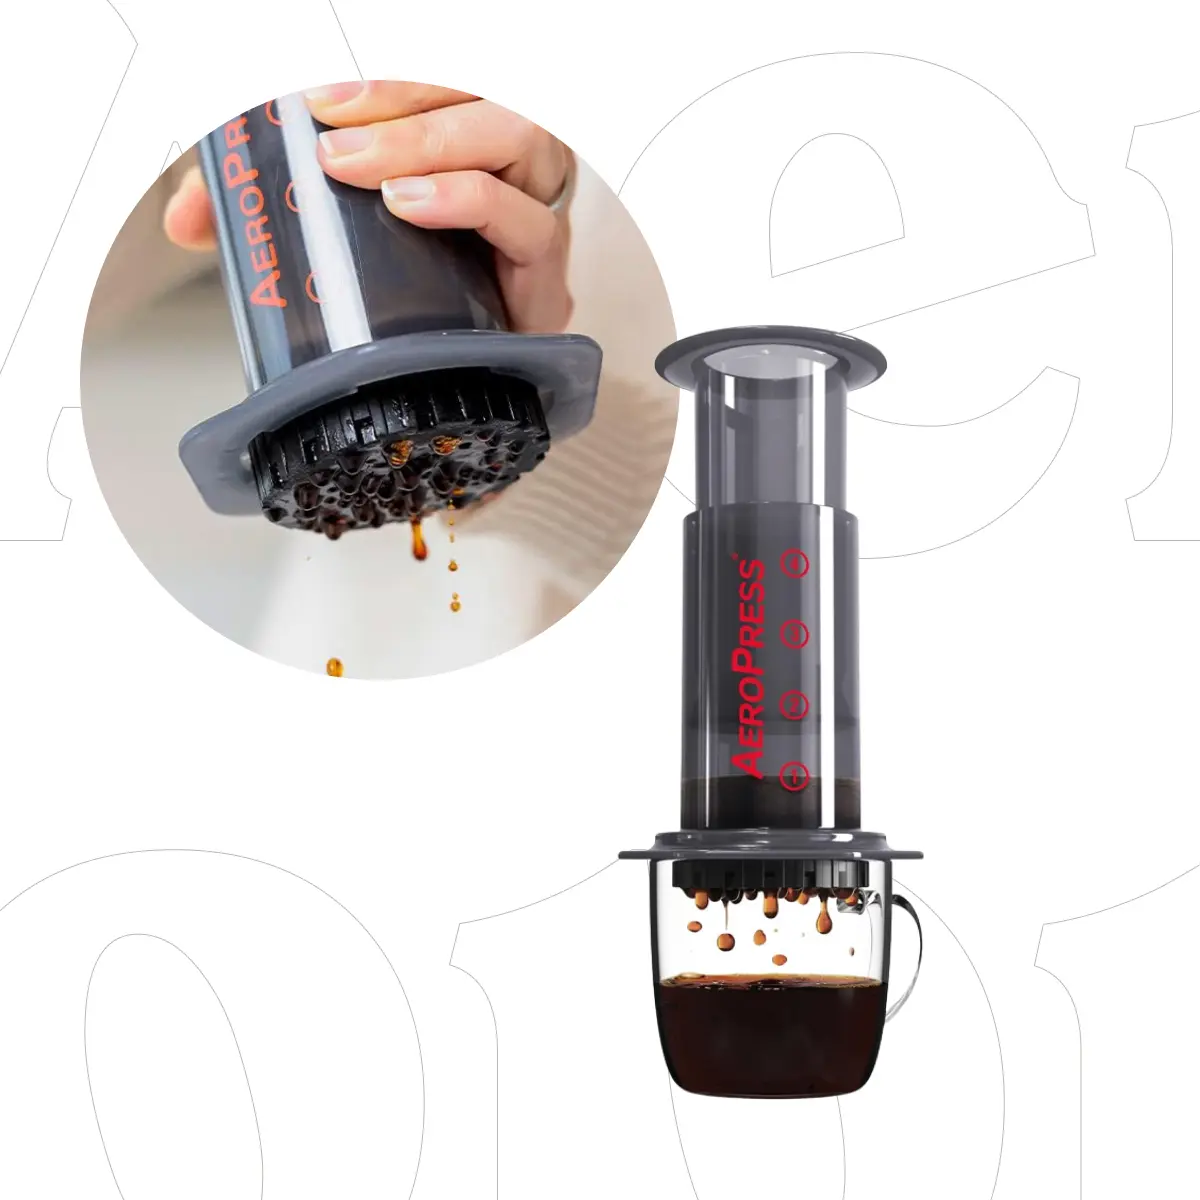
Step 7. Press and enjoy
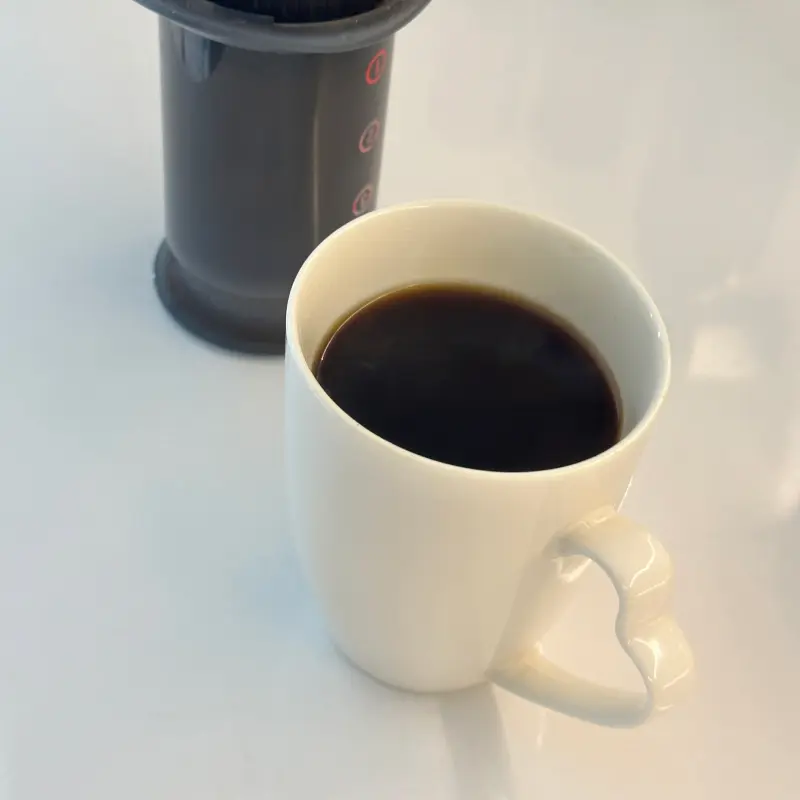
Press your coffee gently and slowly! Be careful, it’ll be hot (both water and the plastic).